Rewiring an old table lamp is a simple and inexpensive task that can be done at home. Whether you have a vintage table lamp that needs a new lease on life or you simply want to learn a new DIY skill, this lamp rewiring tutorial will provide you with step-by-step instructions and useful tips.
Before diving into the rewiring process, it’s important to gather the necessary supplies. You will need a new plug and cord, lamp cord, screwdriver, wire stripper, and wrench. It’s essential to choose a lamp cord that matches the size and color of your lamp and wall receptacle.
To begin rewiring your old table lamp, start by disconnecting the power and removing the bulb and socket. Loosen the socket’s terminal screws and detach the cord wires. If removing the old cord proves challenging, consider disassembling the lamp to make the process easier.
Once the old cord is removed, it’s time to attach the new cord. Twisting the bare ends of the old and new conductors together, secure them with electrical tape. Pull the old cord from the top while pushing the new cord from the bottom until the desired length of new cord is through. Remove the insulation from the end of the new cord.
Now it’s time to connect the wires to the terminal screws on the socket. Bend the twisted end of each wire into a clockwise loop and place it under the screw head. Tighten the screws to secure the wires, and be sure to clip off any excess bare wire. Slide the shell over the insulator and attach it to the socket.
Finally, attach the plug to the other end of the cord. You can choose between a quick-clamp plug or a screw-type plug, depending on your personal preference. Ensure that the wires are securely attached to the plug, without any loose strands or exposed bare wire.
Once the rewiring is complete, reassemble the lamp and tighten the wires under the screw heads. Clip off any excess uninsulated conductor before plugging in the lamp.
Rewiring an old table lamp is a straightforward process that can be accomplished by following these steps. As a word of caution, always ensure that the lamp is unplugged before starting any repairs and use caution when handling electrical components.
Gathering the Necessary Supplies
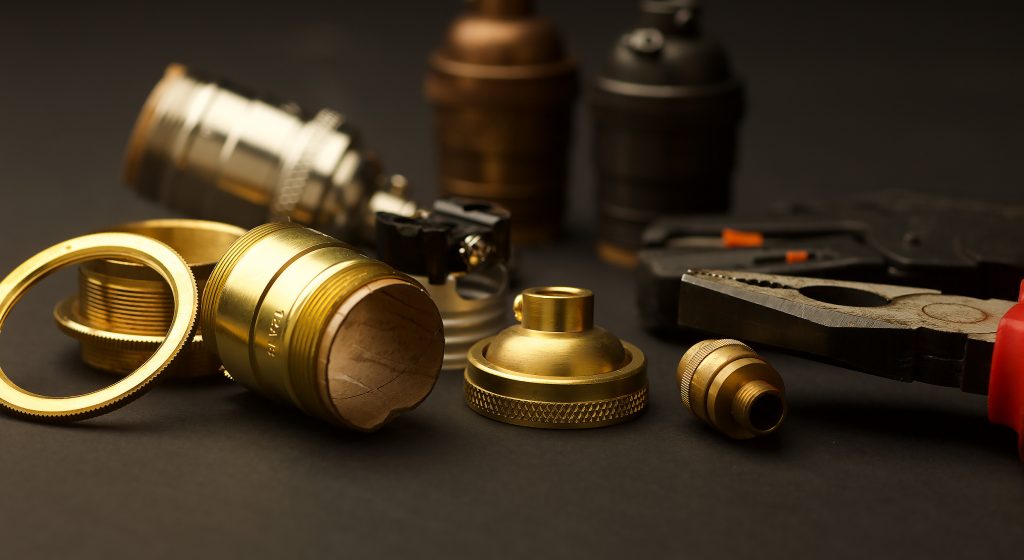
Before starting the rewiring process, it is important to gather all the necessary supplies. Having the right tools and components will ensure a smooth and successful lamp rewiring project. Here are the key supplies you will need:
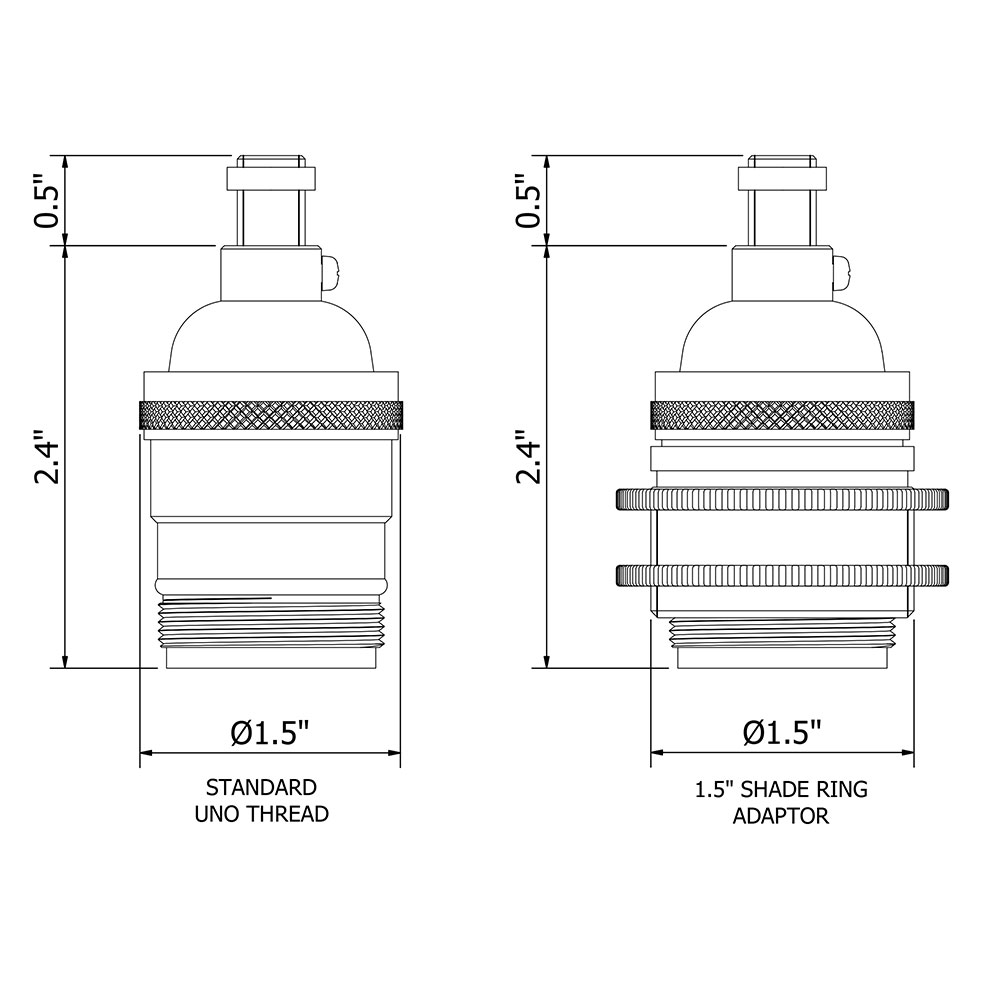
- Lamp socket: A new ES lamp socket will replace the old worn-out socket and provide a secure connection for the bulb.
- Lamp cable: Choose a lamp cable that matches the specifications of your old table lamp. It should be the appropriate size and color to complement your lamp and wall receptacle.
- Screwdriver: A screwdriver will be needed to loosen terminal screws and secure wires during the rewiring process.
- Wire stripper: This tool will help you remove the insulation from the wires, ensuring proper connections.
- Wrench: Depending on the lamp design, you may need a wrench to disassemble certain parts for easier access to the wiring.
Additional Supplies
In addition to the main supplies mentioned above, you may require the following:
- New plug: If the existing plug is damaged or outdated, it is recommended to replace them for safety reasons.
- Electrical tape: This will help secure the twisted ends of the old and new conductors together.
- Wago connectors: These are the best system to connect wires safely and easily. Wago single connectors
By gathering these supplies, you will be well-prepared to rewire your old table lamp and bring it back to life!
Rewiring an old table lamp requires following a step-by-step process to ensure safety and effectiveness. By carefully following these instructions, you can transform your vintage lamp and bring it back to life.
- Start by disconnecting the power and removing the bulb and socket. Loosen the socket’s terminal screws and remove the cord wires from underneath. If the old cord is difficult to remove, consider disassembling the lamp to make the process easier.
- Cut the power cord and remove the old cord from the lamp base. Next, attach the new cord by twisting the bare ends of the old and new conductors together and securing them with electrical tape.
- Pull the old cord from the top while pushing the new cord from the bottom until the desired length of new cord is through. Remove the insulation from the end of the new cord.
- Connect the wires to the terminal screws on the socket by bending the twisted end of each wire into a clockwise loop and placing it under the screw head. Tighten the screws to secure the wires. Clip off any excess bare wire. Slide the shell over the insulator and attach it to the socket.
- Finally, attach the plug to the other end of the cord. Use a quick-clamp plug or a screw-type plug, depending on personal preference. Ensure that the wires are securely attached to the plug and that there are no loose strands or exposed bare wire.
Once the rewiring is complete, reassemble the lamp and tighten the wires under the screw heads. Clip off any excess uninsulated conductor before plugging in the lamp.
Rewiring a lamp is a straightforward process that can be done by following these steps. It is important to ensure that the lamp is unplugged before starting any repairs and to use caution when handling electrical components.
It is crucial to ensure electrical compliance and safety when rewiring an old table lamp. By following proper guidelines and precautions, you can protect yourself and your home from potential hazards. Here are some important factors to consider:
- Earthing a table lamp: When rewiring a table lamp, it is essential to determine whether earthing is required. Grounding the lamp provides an additional layer of safety by redirecting electrical faults away from the user. If your lamp has a metal base or any exposed metal parts, it is recommended to earth the lamp.
- When to earth: If your table lamp has a three-pronged plug, it indicates that it requires earthing. Additionally, if you are rewiring a vintage lamp with a metal base, it is advisable to earth it for safety purposes.
- How to earth a table lamp: To earth a table lamp, you need to connect a grounding wire to the metal parts of the lamp that can conduct electricity. This wire should be connected to the ground terminal of the plug. It is recommended to consult a professional electrician if you are unsure about the earthing process.
Ensuring electrical compliance is essential to prevent electrical shock and fire hazards. Always follow the relevant electrical regulations and guidelines provided by your local authorities. If you are unsure about any aspect of the rewiring process, it is best to consult a licensed electrician. Remember, safety should always be your top priority.

Conclusion
Rewiring an old table lamp can breathe new life into vintage decor and offer the opportunity for personalization with additions like glass shades. It is a simple and inexpensive task that can be done at home, following a few easy steps. By gathering the necessary supplies, such as a new plug and cord, lamp cord, screwdriver, wire stripper, and wrench, you’ll be ready to begin.
To rewire the lamp, start by disconnecting the power and removing the bulb and socket. Carefully remove the old cord and attach the new one by twisting the conductors together and securing them with electrical tape. Pull and push the cords through until the desired length is achieved. Connect the wires to the terminal screws on the socket, ensuring they are securely fastened. Attach the plug to the other end of the cord, making sure all wires are properly connected and there are no exposed bare wires.
Once the rewiring process is complete, reassemble the lamp and tighten all the wires under the screw heads. Trim any excess uninsulated conductor before plugging in the lamp. Remember to exercise caution when handling electrical components and always ensure that the lamp is unplugged before starting any repairs.
Rewiring a lamp is a straightforward process that can be done by following these steps. Take the opportunity to revive your vintage table lamp and give it a personal touch with a glass shade addition. With a little effort, you can enjoy the beauty and functionality of your newly rewired lamp for years to come.


 Subscribe to our channel
